Customers and Vendors
In SimpleBillBook application, customers and vendors are essential entities for managing your business transactions. This guide will help you understand how to create, view, and manage both.
Customers Management
Viewing Customers List
To view all your customers:
- Navigate to Customers from the main sidebar
- You'll see a table displaying all customer records
- Use the Type to search field to filter customers
- The All dropdown allows you to filter by status
The three dots Provides additional management options for vendor records through the action menu.
- Edit Vendor – Update vendor information and details
- Convert Status – inactive or active vendors
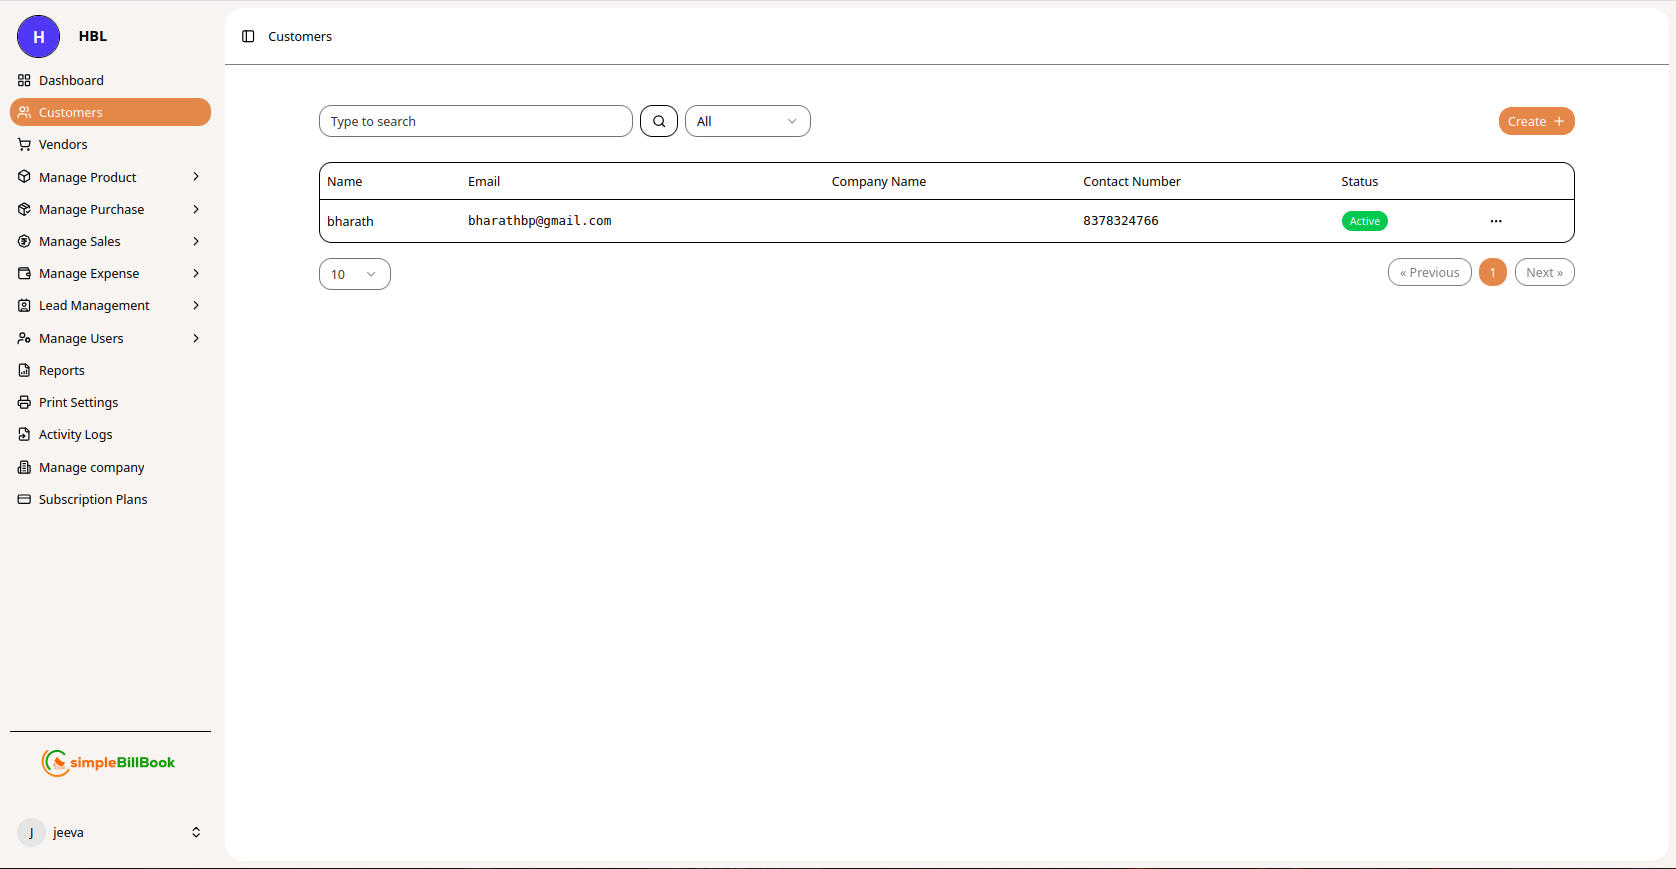 Figure 1: Customers list page with search functionality and table view
Creating a New Customer
Step 1: Access Customer Creation
While on the Customers page, you can add a new customer by clicking create button at the top right
Step 2: Fill Customer Details
When creating a customer, you'll need to provide:
Basic Information:
- Name: Customer's full name
- Email: Valid email address
- Company Name: Optional company name
- Contact Number: Phone number
- GST Number: Tax identification number
- PAN Number: PAN number
Address Information:
- Billing Address:
- Street
- City
- State
- Pincode
- Country
- Shipping Address: Check "Shipping Address Same as Billing" if identical
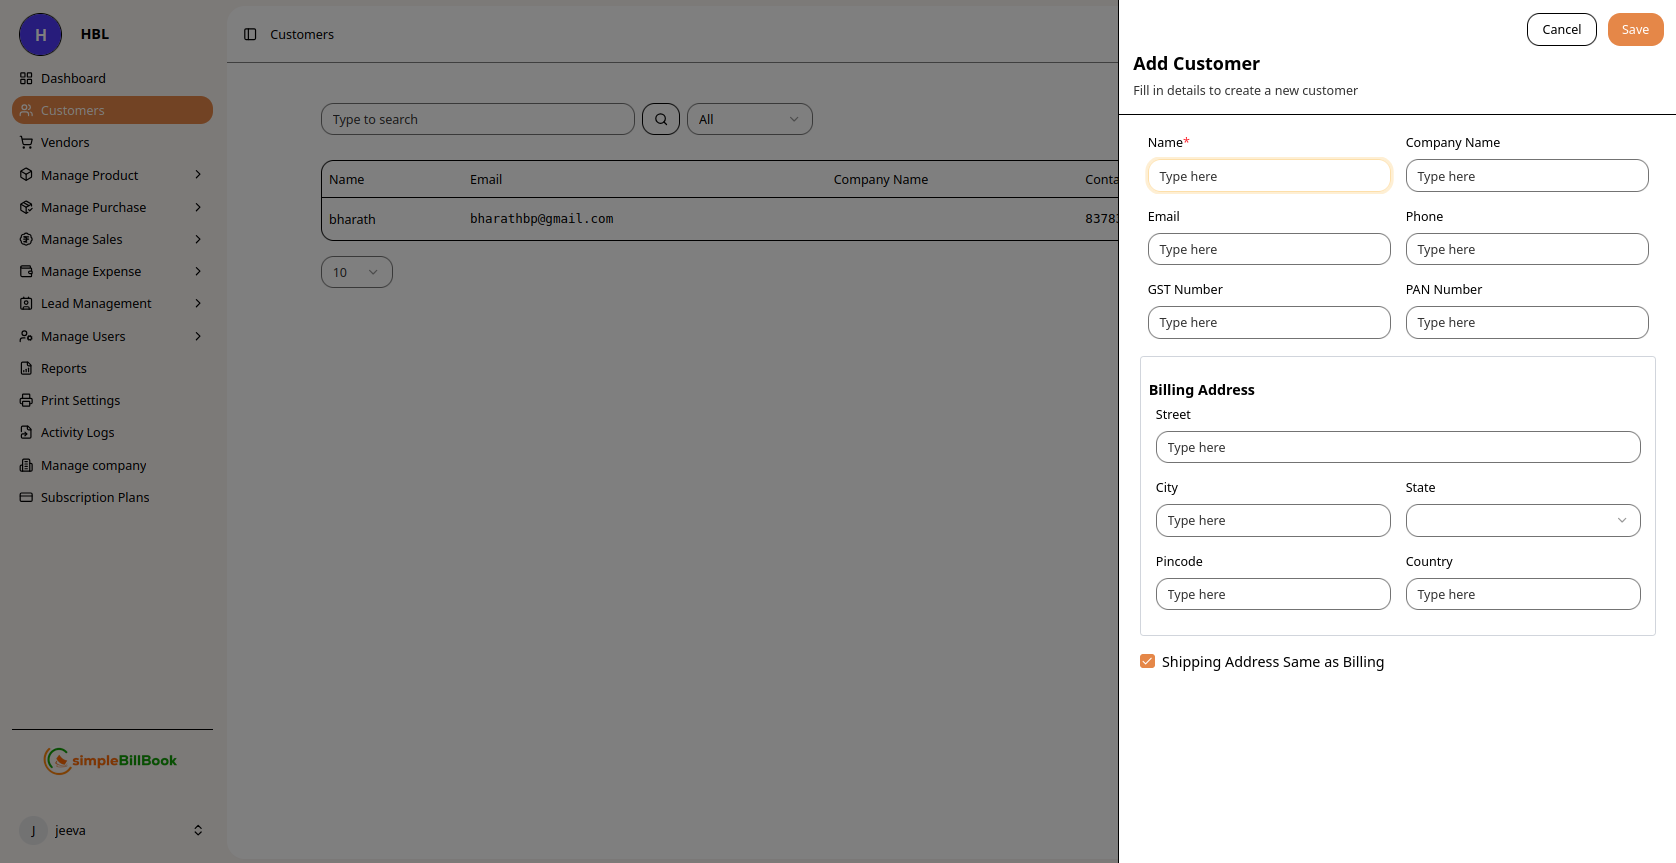 Figure 2: Customer creation form with address fields
Step 3: Save Customer
After filling all required fields, click Save to create the customer record.
Vendors Management
Viewing Vendors List
To view all your vendors:
- Navigate to Vendors from the main sidebar
- You'll see a table or list displaying vendor records
- Use the Type to search field to find specific vendors
 Figure 3: Vendors list page with search and table view
Vendor Table Columns:
- Name: Vendor company name
- Contact Name: Primary contact person
- Email: Vendor email address
- Phone: Contact number
- Status: Active/Inactive status
The three dots Provides additional management options for vendor records through the action menu.
- Edit Vendor – Update vendor information and details
- Convert Status – inactive or active vendors
Creating a New Vendor
Step 1: Access Vendor Creation
Navigate to the Vendors section and you can add new vendor by clicking create button at the top right.
Step 2: Fill Vendor Details
When adding a vendor, provide the following information:
Company Information:
- Company Name: Legal business name
- Contact Name: Primary contact person
- Phone: Business phone number
- Email: Business email address
- GST Number: Tax identification number
Location Details:
- Address: Physical address
- City: City
- State: State/Province
- Country: Country
- Pincode: Postal/ZIP code
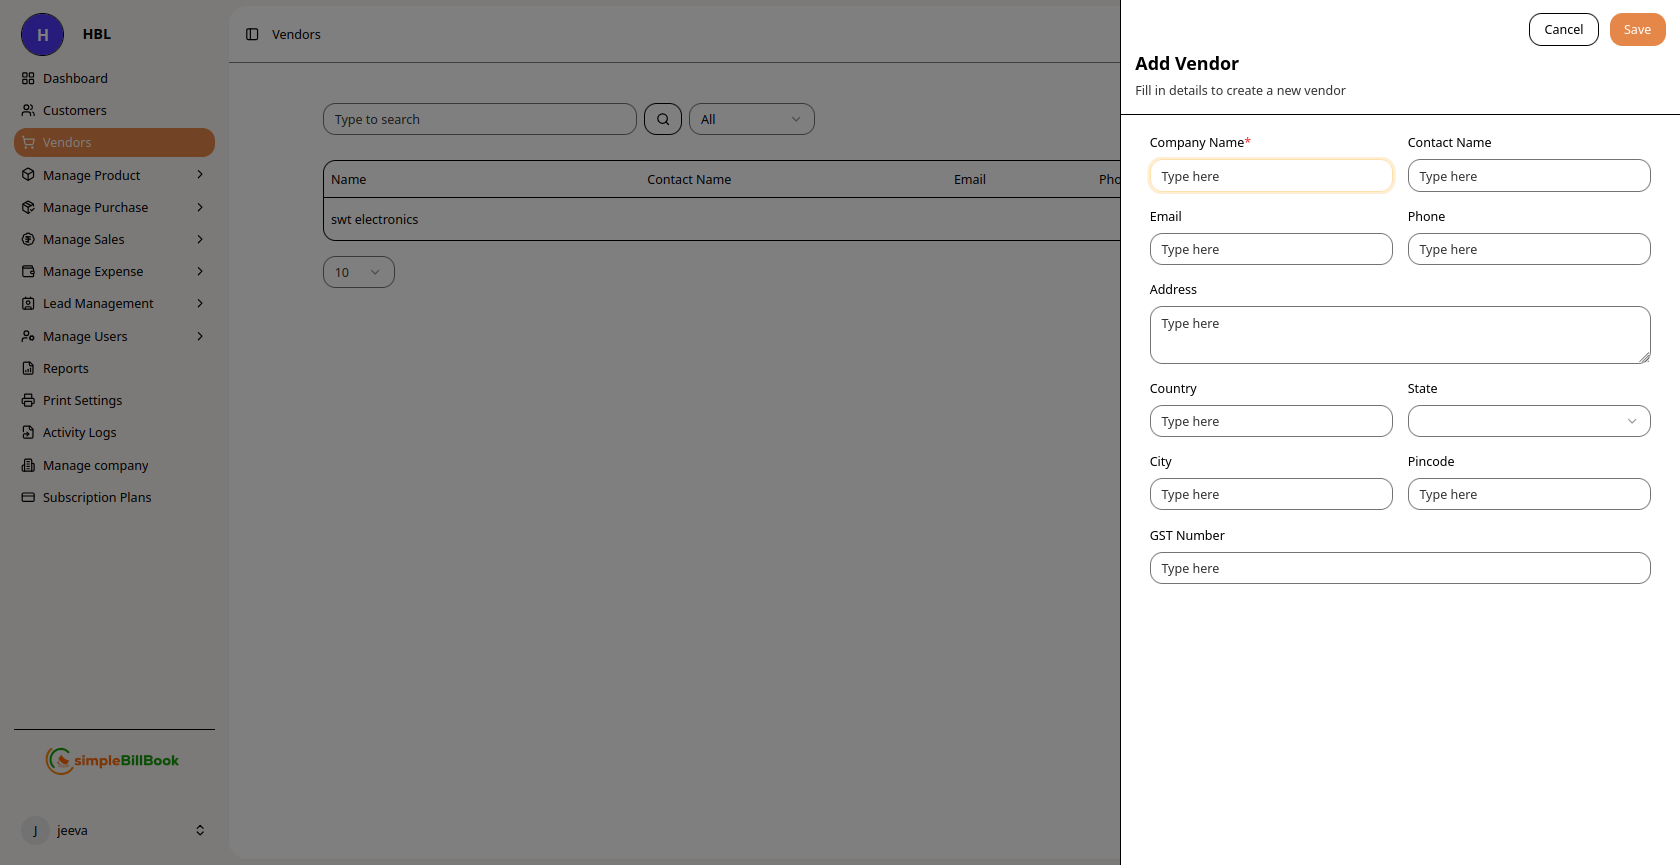 Figure 4: Vendor creation form with company and address details
Step 3: Save Vendor
After completing all fields, click Save to add the vendor to your system.
Common Features for Both Sections
Search Functionality
Both Customers and Vendors pages include:
- Type to search field for quick filtering
- Status filters (typically in dropdowns)
- Pagination controls (like "10 ▼" for items per page)
Status Management
- Customers and vendors can be marked as Active or Inactive
- Inactive records won't appear in dropdowns during transaction creation
Navigation Access
Both sections are accessible from the main sidebar under:
- Dashboard → Home
- Customers → Customer management
- Vendors → Vendor management
Best Practices
- Complete Information: Always fill as many fields as possible for better record-keeping
- Regular Updates: Keep contact information current
- Consistent Naming: Use consistent naming conventions for companies and contacts
- Address Accuracy: Ensure billing and shipping addresses are correct to avoid delivery issues